

Photography Travel Guide: How to Plan, Pack and Capture Better Travel Photos
Travel photography sounds wonderfully simple.
Go somewhere beautiful. Bring a camera. Take beautiful photographs.
Then reality arrives.
The sunrise is behind the building you wanted to photograph. Your camera battery dies halfway through the day. The wildlife appears while the wrong lens is attached. The beach looks completely different from the photos you saw online. You discover that the location you wanted to photograph closes before sunset.
Welcome to travel photography.
A good photography travel guide is not about creating a rigid schedule for every photograph you want to take. It is about giving yourself better chances of being in interesting places, with the right equipment, at the right time — and enough freedom to react when something unexpected happens.
Whether you travel with a professional camera, a compact mirrorless setup, an action camera, or simply your phone, photography can completely change how you experience a destination. You start paying attention to light, people, weather, landscapes, wildlife, architecture, colors, movement, and the tiny details most visitors walk straight past.
This guide will help you plan a photography-focused trip without turning your vacation into a military operation involving three cameras and a sunrise alarm every morning.
What Is Travel Photography?
Travel photography is much broader than photographing famous landmarks.
It can include landscapes, wildlife, people, architecture, food, underwater environments, street scenes, adventure activities, cultural traditions, and everyday moments.
Good travel photography helps communicate what a place actually felt like.
That might mean photographing a spectacular Caribbean sunrise.
It might also mean documenting someone preparing food at a local market, a quiet street before the shops open, sunlight entering a cenote, or a bird disappearing into the mangroves.
The destination provides the subjects.
Your job is to notice them.
Why a Photography Travel Guide Helps You Travel Differently
Photography slows you down.
That may sound strange because photographers are often the people sprinting toward a sunset carrying a tripod.
But good photography usually requires observation.
You begin asking different questions.
Where is the light coming from?
What will this street look like early in the morning?
When will the beach be busiest?
What wildlife lives here?
What happens after dark?
Are there local festivals while I am visiting?
Can I photograph underwater?
Does this landscape look better during the rainy season?
Those questions often lead photographers beyond the most obvious tourist experiences.
That is why photography can become one of the best ways to understand a destination rather than simply document that you visited it.
Start Your Photography Trip With the Story You Want to Tell
Before researching lenses, start with something simpler:
What do you want to photograph?
This question should shape the rest of your trip.
A wildlife photographer needs completely different conditions from someone interested in architecture.
An underwater photographer needs different equipment from someone documenting street life.
A photographer interested in local culture may choose a destination because of a festival, while a landscape photographer may choose the exact same location because of its mountains.
Your photography interests might include:
Landscapes
Wildlife
Birds
Underwater environments
Street photography
Architecture
Local culture
Food
Adventure sports
Portraits
Night photography
Beaches and coastlines
Historical sites
You can absolutely combine several.
Just avoid trying to photograph everything everywhere.
That is how vacations mysteriously become photography marathons.
Research Your Destination Before You Arrive
Research does not remove spontaneity.
It gives spontaneity somewhere useful to happen.
Before arriving, learn enough about the destination to understand what photographic opportunities might exist.
Look into:
Sunrise and sunset locations
Seasonal weather
Wildlife seasons
Local markets
Festivals and cultural events
Natural areas
Beaches
Historical neighborhoods
Viewpoints
Photography restrictions
Opening hours
Transporte
Water activities
Local guides
Typical crowd patterns
You do not need to schedule every photograph.
Instead, build a mental map of possibilities.
Then you can react much faster once you arrive.
Build a Photography Shot List Without Becoming Obsessed With It
A shot list can help organize your ideas.
It should not become a list of demands you make to the universe.
Try creating categories rather than exact photographs.
For example:
Destination overview
Wide landscapes
City or town views
Coastlines
Streets
People and culture
Markets
Artisans
Baile
Food preparation
Daily life
Nature
Wildlife
Plants
Agua
Sunsets
Weather
Details
Signs
Textures
Doors
Food
Hands
Clothing
Architecture
Experiences
Buceo
Snorkeling
Hiking
Sailing
Baile
Local activities
This creates variety without turning photography into a scavenger hunt.
Choose Your Travel Photography Gear Carefully
Photographers have a remarkable ability to convince themselves that every piece of equipment is absolutely essential.
Then the backpack weighs 14 kilograms.
The ideal travel photography kit depends on what you photograph, but lighter is often better.
A basic kit may include:
Camera body
One versatile zoom lens
One specialized lens if needed
Extra batteries
Multiple memory cards
Lens cloth
Camera strap
Small rain cover
Portable charger
Small tripod if necessary
Wildlife photographers may need a telephoto lens.
Landscape photographers might prioritize a wide-angle lens and tripod.
Portrait photographers may prefer a fast prime.
Underwater photographers have an entirely different equipment problem waiting for them.
The question should always be:
Will I actually use this?
Not:
Would it be mildly irritating if I suddenly wanted this and left it at home?
Those are two very different packing philosophies.
One Camera or Two?
For most travelers, one camera is enough.
Professional photographers may carry a second body as a backup or to avoid frequently changing lenses.
Two cameras can also be useful when photographing wildlife because conditions can change quickly.
For example, one body might have a telephoto lens while another has a wider lens.
But two cameras also mean more weight, more batteries, more charging, and more equipment to protect.
Unless photography is central to the trip or part of your professional work, keeping the setup simple often makes the actual travel experience better.
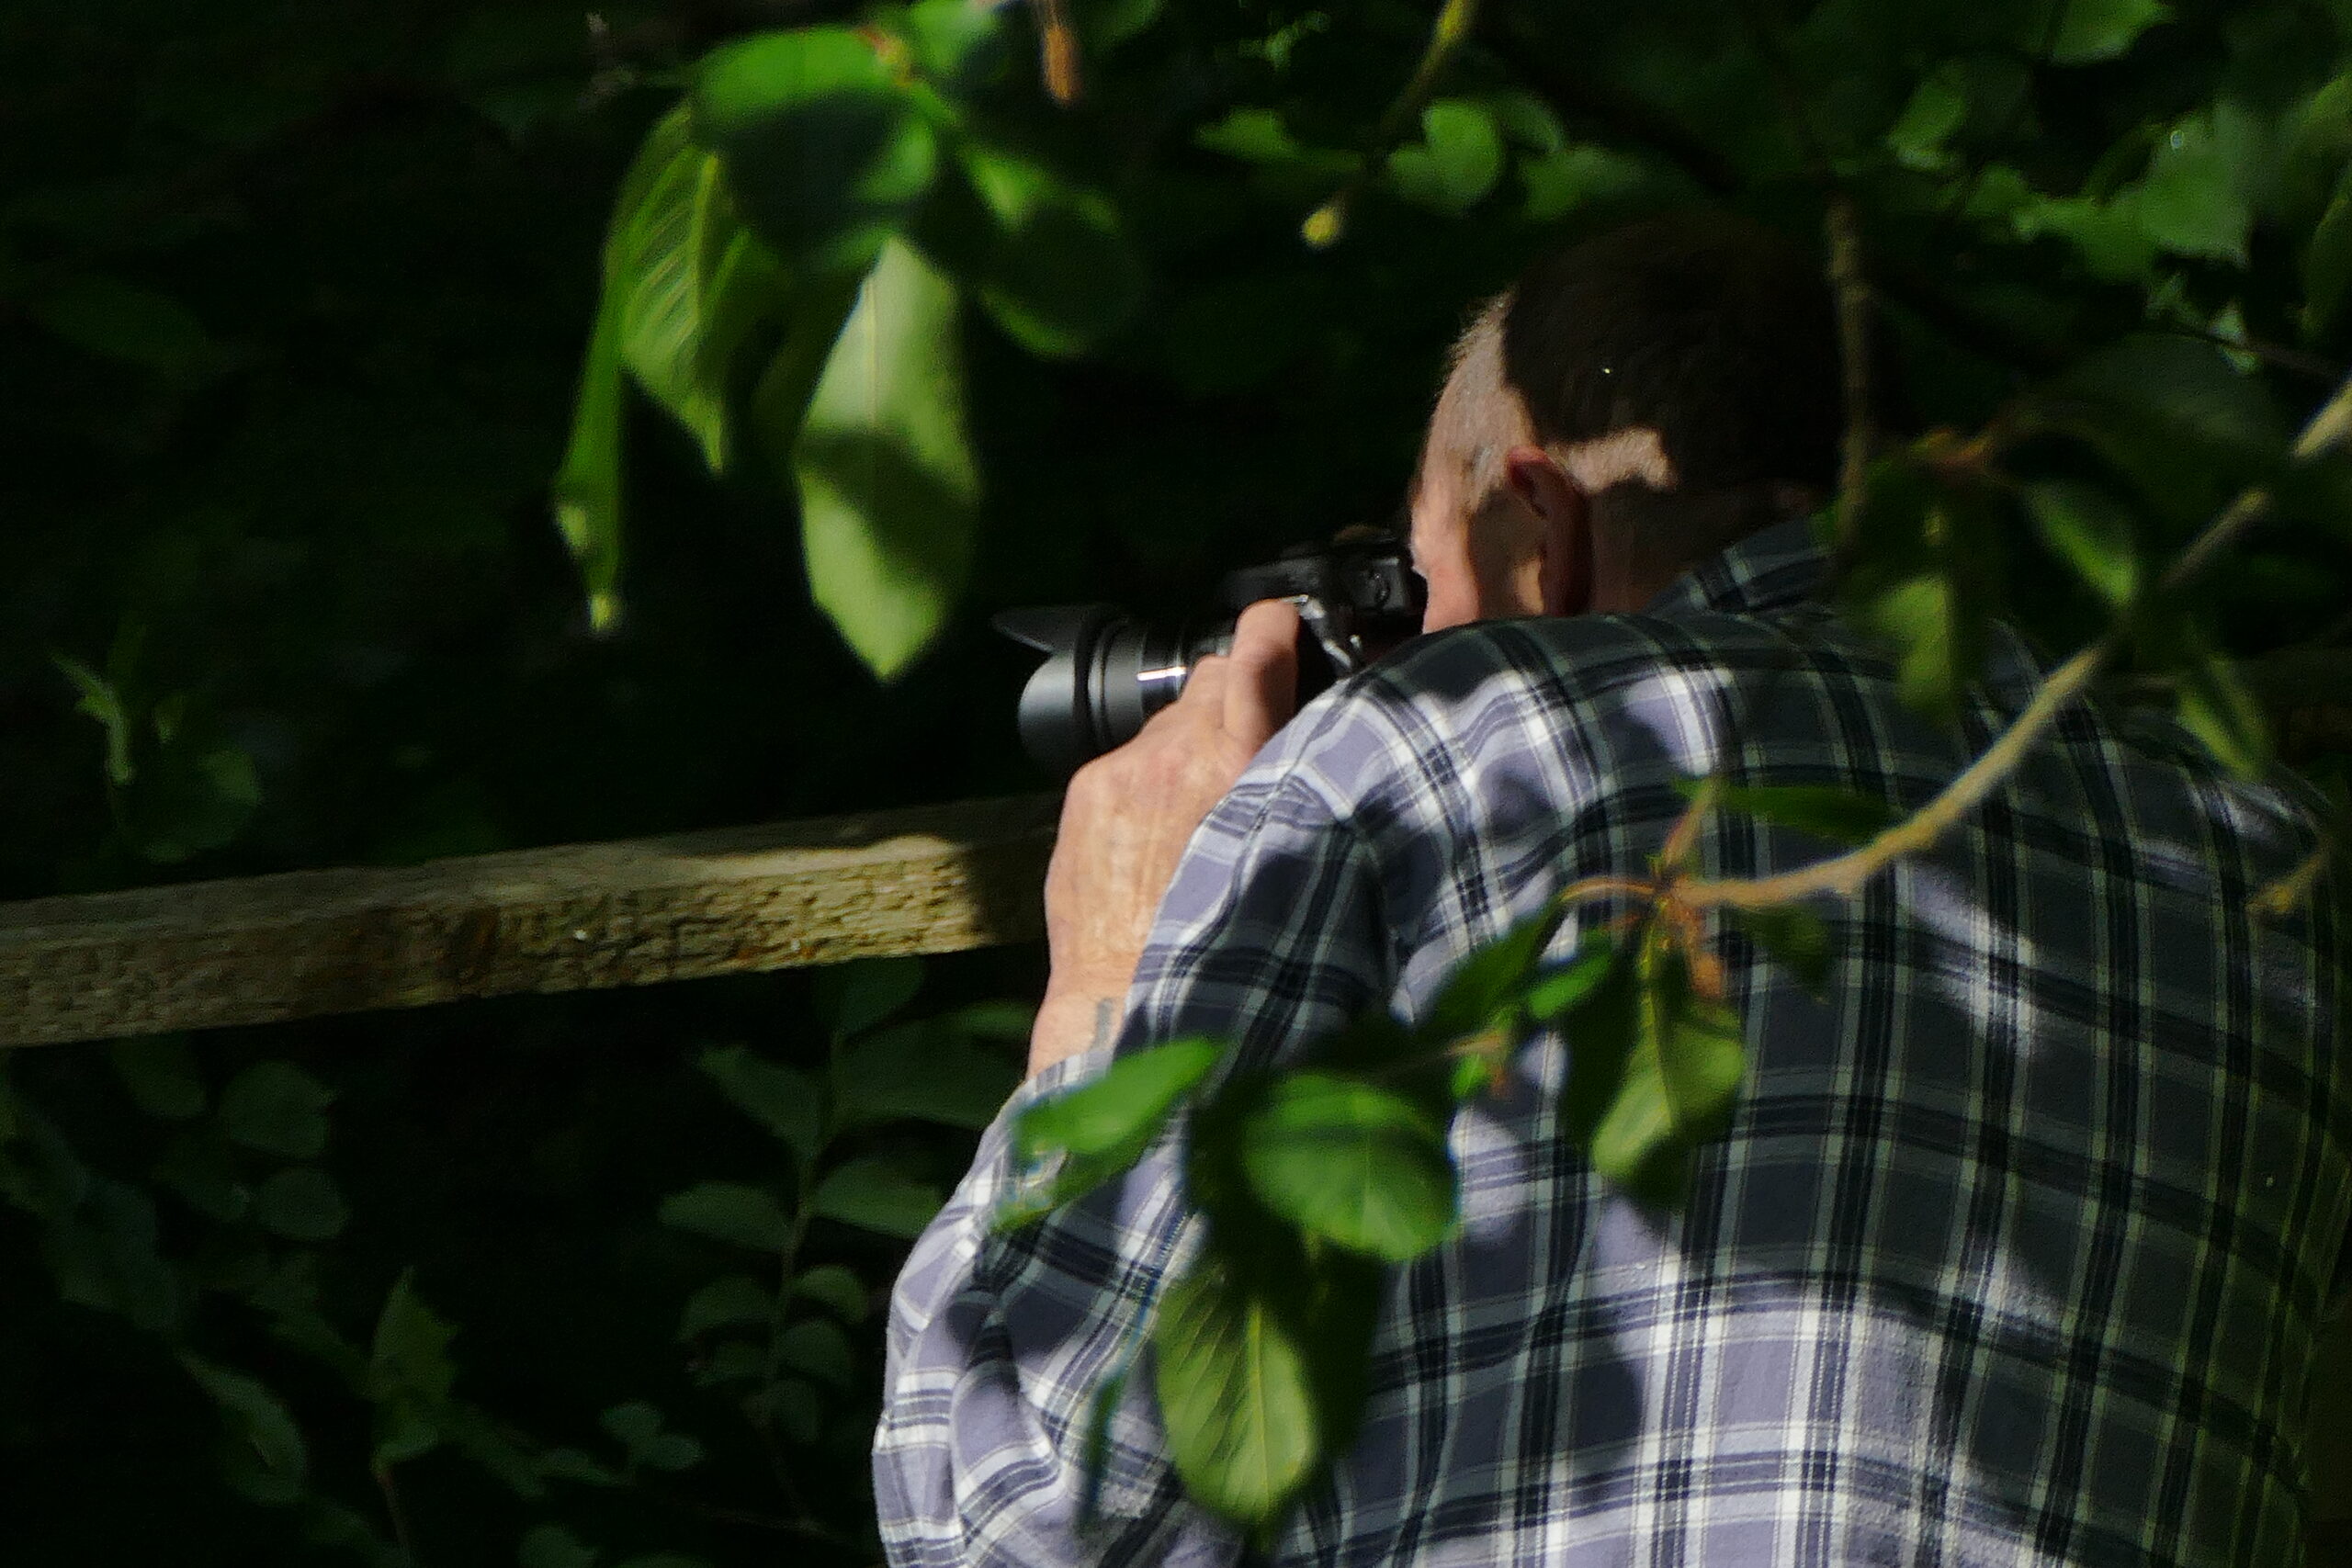
Travel Photography With a Smartphone
You do not need a professional camera to create good travel photography.
Phones are particularly useful for:
Street photography
Landscapes
Architecture
Food
Portraits
Behind-the-scenes images
Travel videos
Quick moments
Social content
The most important photography principles still apply.
Think about light.
Watch the background.
Move closer.
Change your angle.
Wait for people to enter or leave the frame.
Clean your camera lens.
That final tip sounds ridiculous until you realize approximately half of all disappointing phone photos were apparently taken through a layer of sunscreen and fingerprints.
Pack for the Environment, Not Just the Camera
A photography trip does not happen inside a camera bag.
You also need to survive the environment around it.
If you are photographing tropical destinations, useful items might include:
Lightweight clothing
Hat
Agua
Comfortable shoes
Rain protection
Dry bag
Sunscreen
Insect protection
Small towel
Waterproof pouch
Wildlife trips may require long sleeves and neutral clothing.
Cold-weather photography requires spare batteries because batteries can drain faster in low temperatures.
Underwater photography needs an entirely different level of planning.
Think about the photographer as carefully as the photography gear.
A dehydrated photographer standing in direct tropical sun tends to become less creatively inspired as the afternoon progresses.
Understand Light Before You Understand Everything Else
Photography literally depends on light.
You can have an extraordinary camera and a beautiful location and still produce an uninspiring photograph if the light is flat or badly positioned.
Learning to notice light is one of the biggest improvements any travel photographer can make.
Golden Hour
Golden hour occurs around sunrise and sunset when the sun is low.
The light is often warmer and softer.
It can work beautifully for:
Landscapes
Portraits
Architecture
Beaches
Street scenes
Unfortunately, it sometimes requires waking up at an hour you normally reserve for airport departures.
Photography has its sacrifices.
Blue Hour
Blue hour happens before sunrise or after sunset.
The scene takes on cooler tones, and artificial lights begin balancing with the remaining natural light.
It is excellent for:
Cities
Streets
Architecture
Waterfronts
Night transitions
A tripod can help when light levels become low.
Midday Light
Photographers sometimes talk about midday light as though photography becomes illegal between 11 a.m. and 3 p.m.
It does not.
Strong overhead light can be challenging, but it can work well for:
Underwater photography
Graphic architecture
High-contrast scenes
Beaches
Shadows
Colorful locations
The trick is understanding what the light is doing rather than assuming every photograph must happen at sunset.
Use Weather Instead of Fighting It
Tourists want perfect weather.
Photographers should be slightly more flexible.
Clouds can make landscapes more dramatic.
Rain creates reflections.
Storms change the light.
Mist adds depth.
Overcast conditions can produce flattering portraits.
A cloudy day does not automatically mean a wasted photography day.
It may simply mean changing your subject.
Instead of photographing a huge landscape, focus on:
People
Details
Wildlife
Markets
Architecture
Street scenes
Food
Indoor environments
Good travel photographers adapt.
They also know when a storm is actually dangerous and it is time to put the camera away.
There is no photograph impressive enough to justify becoming the tallest metal object in an open field during lightning.
How to Plan Sunrise and Sunset Photography
Sunrise and sunset can produce beautiful light, but you should arrive before the interesting light begins.
For sunrise, that often means arriving while it is still dark.
For sunset, give yourself enough time to explore possible compositions beforehand.
Look for:
Foreground objects
Reflections
Leading lines
Agua
Silhouettes
Interesting clouds
Elevated viewpoints
People who can provide scale
Do not leave immediately when the sun disappears.
Some of the best color can happen afterward.
This is especially true near the ocean.
Landscape Photography While Traveling
Landscape photography rewards patience.
You may need to wait for clouds, changing light, moving people, or better conditions.
Instead of simply photographing the first view you see, explore.
Move left.
Move right.
Get lower.
Look behind you.
Include foreground elements.
Try vertical compositions.
Come back at a different time.
The most famous viewpoint is not automatically the best photograph.
Sometimes turning around produces something much more interesting.
Wildlife Photography Travel Guide
Wildlife photography requires a different mindset.
You are working with subjects that have their own schedules.
They do not care about yours.
Research:
Species found in the region
Migration patterns
Seasonal activity
Habitat
Best viewing times
Local guides
Ethical viewing distances
Local wildlife guides can be extremely valuable because knowing where animals typically feed, nest, or move saves enormous amounts of time.
Patience matters.
So does accepting that sometimes the wildlife does absolutely nothing.
That is part of wildlife photography.
Photograph Wildlife Without Disturbing It
The photograph should never be more important than the animal.
Avoid:
Chasing wildlife
Touching animals
Feeding animals for photographs
Blocking escape routes
Disturbing nests
Creating excessive noise
Moving too close
Encouraging unethical interactions
Long lenses exist for a reason.
Sometimes the best wildlife photograph is taken from farther away.
Marine Life Photography
Marine photography creates entirely different opportunities.
Depending on the destination, you may photograph:
Tropical fish
Rays
Sea turtles
Coral reefs
Schooling fish
Sharks
Marine mammals
Underwater landscapes
Marine life encounters depend heavily on location and season.
Visibility, current, depth, weather, and your own swimming or diving ability also affect the experience.
If underwater photography is one of your priorities, choose your destination around the marine environment rather than adding underwater photography as an afterthought.
Underwater Photography Travel Guide
Underwater photography combines photography with another skill: being comfortable underwater.
That means you need to think about both simultaneously.
Before worrying about camera settings, you need control of your position, movement, and surroundings.
For divers, good buoyancy is essential.
For freedivers, comfort, technique, and proper safety supervision matter.
For snorkelers, understanding how to move quietly and efficiently can make wildlife encounters easier.
Underwater photography may involve:
Waterproof phone housings
Action cameras
Compact underwater systems
Full camera housings
Wide-angle lenses
Underwater lighting
Start simple.
Underwater photography becomes complicated very quickly without any additional help.
Cenote Photography
For photographers traveling through the Yucatán Peninsula, cenotes provide a very different environment from the Caribbean.
They can offer:
Clear freshwater
Limestone formations
Reflections
Jungle surroundings
Underwater landscapes
Dramatic shafts of light
Portrait opportunities
Light can vary enormously between cenotes.
Some are mostly open.
Others are partially underground.
Some are visually strongest when direct sunlight enters at a specific angle.
Planning matters here because the same cenote can look completely different at different times.
Street Photography While Traveling
Street photography is one of the easiest ways to build a richer travel story.
You do not need special access.
You need attention.
Walk.
Observe.
Notice patterns.
Watch how people move through the environment.
Look for:
Markets
Transporte
Shopfronts
Cafés
Street food
Public squares
Architecture
Local events
Daily routines
Do not spend the entire trip hunting only for dramatic moments.
Often the small everyday scenes communicate the strongest sense of place.

Photographing People and Local Culture
Travel photography becomes more complicated when people become the subject.
There is a difference between documenting a public scene and pushing a camera into someone’s personal space.
Use judgment.
When someone is clearly the main subject of a portrait, asking permission is often appropriate.
Learn a few words in the local language.
Interact before photographing.
Show the image when it feels natural.
And remember that local residents are not attractions included with your hotel reservation.
Good cultural photography begins with respect.
Food Photography While Traveling
Food photography is an easy way to add variety to your travel story.
Instead of only photographing the finished plate, photograph the entire experience.
Look for:
Ingredients
Cooking
Hands preparing food
Markets
Restaurants
Street vendors
Drinks
Table details
Local specialties
Natural window light often works beautifully.
And photograph the food quickly.
Nobody needs dinner turning cold because you are still deciding whether the taco looks better at 45 degrees.
Architecture and Historical Sites
Architecture benefits enormously from thoughtful timing.
Early morning can provide:
Fewer crowds
Softer light
Cleaner compositions
Late afternoon can produce warm textures and long shadows.
When photographing architecture, look beyond the entire building.
Photograph:
Doors
Windows
Patterns
Tiles
Materials
Decorative details
Symmetry
Shadows
Human scale
A collection of details often tells a stronger visual story than twenty wide-angle photographs of the same façade.
Travel Photography in Mexico
Mexico offers photographers enormous variety.
Within one trip, you can potentially move between Caribbean coastlines, cenotes, wildlife habitats, historical towns, markets, Maya cultural sites, underwater environments, and modern cities.
MExplor’s current Photography Camp in Puerto Morelos uses that variety by combining photography workshops with Caribbean experiences such as snorkeling and cenote excursions. Its program is designed around nature, underwater environments, guided photography experiences, and practical learning rather than photography in a classroom alone.
For photographers, that variety makes Mexico particularly useful because one trip can produce a diverse portfolio without requiring constant flights between destinations.
Photography in the Mexican Caribbean
The Mexican Caribbean gives photographers several completely different environments within relatively short travel distances.
You can work with:
Beaches
Coral reefs
Cenotes
Jungle
Coastal towns
Marine life
Local culture
Street scenes
Baile
Adventure activities
That variety is particularly useful when weather changes.
If ocean conditions are not ideal, another type of photography may still be possible.
Photography trips work best when you have alternatives.
Plan Enough Time in Every Location
One of the easiest ways to ruin a photography trip is trying to see too much.
Three beautiful places photographed properly will often produce stronger work than ten locations visited at high speed.
Photography requires time to:
Walk around
Observe
Find compositions
Wait for light
Change lenses
Talk with people
Notice unexpected subjects
Try again
If your itinerary gives you exactly 25 minutes at every stop, you are not really doing travel photography.
You are documenting parking.
Leave Space for Unexpected Opportunities
Not every photograph should be planned.
You might discover a local event.
The weather might become incredible.
Someone may tell you about a location you had never heard of.
Wildlife might appear.
A quiet street may suddenly become your favorite place of the entire trip.
Leave some unscheduled time.
Travel photography is partly research.
It is also curiosity.
How to Create a Photography-Friendly Travel Itinerary
A good photography itinerary alternates intense shooting periods with slower time.
For example:
| Time | Possible Focus |
|---|---|
| Early morning | Sunrise, wildlife, quiet streets |
| Desayuno | Rest and backup |
| Late morning | Culture, markets, interiors |
| Midday | Underwater photography or lunch |
| Afternoon | Exploration and scouting |
| Golden hour | Landscapes or portraits |
| Evening | Street photography or night scenes |
| Night | Backup, charging, sleep |
Do not follow this every day.
If you attempt sunrise, sunset, and nighttime photography seven consecutive days, your final artistic statement may simply become exhaustion.
Back Up Your Photos While Traveling
Imagine spending a week photographing an extraordinary destination and losing everything because one memory card failed.
Nobody wants that travel story.
Create a simple backup routine.
You might use:
Multiple memory cards
Laptop storage
Portable SSD
Cloud backup when internet allows
Two physical copies stored separately
Do not keep your only two copies inside the same camera bag.
If that bag disappears, your backup disappears with it.
Organize Your Photos Every Day
You do not need to fully edit every photograph each night.
But basic organization helps.
At the end of the day:
Back up the files.
Create a folder by date or location.
Quickly flag important images if useful.
Charge batteries.
Prepare memory cards.
Check equipment for the next day.
Ten minutes of organization can save hours later.
It also prevents the classic photographer panic:
Did I already back up this card?
Nobody enjoys that game.
Protect Your Photography Equipment While Traveling
Camera gear attracts attention.
Keep expensive equipment discreet whenever possible.
Avoid leaving cameras unattended.
Use secure storage in accommodations.
Do not display every piece of equipment unnecessarily.
In crowded places, keep bags closed and close to your body.
You should also protect equipment from the environment.
Sand is particularly unpleasant.
Saltwater is worse.
Humidity can be difficult.
A tropical beach may be excellent for photography and absolutely terrible for your camera if you treat it casually.
Travel Insurance and Camera Equipment
Photographers traveling with expensive gear should consider whether their travel or equipment insurance actually covers that equipment.
Check:
Maximum coverage
Individual item limits
Theft conditions
International coverage
Professional use exclusions
Water damage
Rental equipment
Policies vary, so do not assume a general travel policy automatically covers thousands of dollars of photography equipment.
Reading insurance terms is considerably less exciting than photographing cenotes.
It is still worth doing.
Photography Travel Guide for Flying With Camera Gear
Whenever possible, keep valuable camera equipment with you rather than putting it into checked baggage.
Pack efficiently.
Protect lenses.
Keep batteries organized.
Avoid a bag so heavy that carrying it through an airport becomes the first endurance activity of the trip.
Airlines and aviation authorities can have specific rules for batteries and baggage, so always check current requirements for your airline and departure country before traveling.
Rules matter more than what someone on a photography forum remembers from 2019.
How to Travel With a Tripod
Tripods are useful.
They are also annoying.
Bring one when you expect to use it for:
Landscapes
Long exposures
Night photography
Astro photography
Self-portraits
Video
Leave it behind when you are mainly photographing streets, wildlife, or fast-moving travel experiences.
Some attractions restrict tripods, especially in crowded or protected locations.
Research before carrying one around all day for no reason.
Editing Travel Photos
Editing should support the photograph rather than completely replace what you experienced.
Useful adjustments can include:
Exposure
Contrast
Highlights
Shadows
White balance
Cropping
Straightening
Color correction
Your editing style is personal.
Consistency can help a travel series feel connected, but every destination does not need to become the exact same shade of orange.
Let places keep some personality.
Tell a Story Instead of Only Collecting Hero Images
Travel photography becomes much more interesting when you photograph the entire experience.
Yes, capture the dramatic landscape.
Also photograph:
The road there
The guide
Your breakfast
Signs
Details
Weather
Equipo
Local life
Quiet moments
The people traveling with you
Think like a storyteller.
A series of 20 photographs can communicate much more than 20 individually impressive images that have nothing to do with one another.
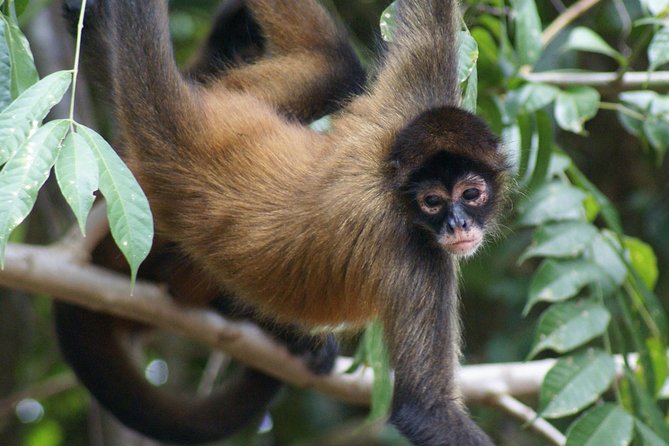
Common Travel Photography Mistakes
Carrying Too Much Equipment
More equipment does not guarantee better images.
Sometimes it guarantees shoulder pain.
Trying to Visit Too Many Places
Rushing reduces observation.
Ignoring the Weather
Different conditions create different opportunities.
Only Photographing Famous Locations
Your most memorable photograph may happen between attractions.
Forgetting People
Landscapes show where you went.
People often explain what the place felt like.
Photographing Everything at Eye Level
Move.
Crouch.
Look up.
Find another perspective.
Spending the Entire Trip Behind the Camera
This is an important one.
Put the camera down sometimes.
Actually experience the place.
Strangely enough, being emotionally connected to a destination usually makes your photography better anyway.
Photography Travel Guide for Beginners
If this is your first photography-focused trip, keep things simple.
Learn a few important skills before leaving:
How to change shutter speed
How to change aperture
How to adjust ISO
How autofocus works
How to change lenses safely
How to read basic exposure
How to back up files
Then practice during the trip.
Do not wait until you are standing in front of a once-in-a-lifetime wildlife encounter to discover where continuous autofocus is hidden in the menu.
Photography Travel Guide for Experienced Photographers
Experienced photographers can shift more attention toward creative goals.
Before traveling, think about:
Portfolio gaps
Specific subjects
Visual themes
Personal projects
Storytelling
Specialized locations
Access
Local guides
Underwater or wildlife opportunities
Instead of collecting random photographs, build a small project.
For example:
Water in the Yucatán
Life Around the Cenotes
Caribbean Mornings
Movement and Dance in Mexico
Wildlife of the Mangroves
Giving yourself a theme can create much stronger work.
Should You Hire a Photography Guide?
For some destinations, absolutely.
A photography guide can help you understand:
Locations
Light
Access
Wildlife
Timing
Local culture
Safety
Photography restrictions
This can be especially valuable for short trips.
You are essentially reducing the amount of time spent figuring everything out after you arrive.
MExplor’s Photography Camp uses guided photography experiences and workshops alongside nature and Caribbean excursions, giving participants the chance to learn while actively photographing the destination.
Photography Tours vs. Traveling Independently
Both approaches have advantages.
| Photography Tour | Independent Photography Trip |
|---|---|
| Local guidance | Maximum independence |
| Planned locations | Build your own itinerary |
| Easier logistics | More flexibility |
| Photography community | More solitude |
| Workshops may be included | Learn independently |
| Access may be arranged | Research is your responsibility |
You can also combine the two.
Take several guided photography experiences and leave the rest of the trip open.
That often provides a good balance.
Turn Your Photography Trip Into an Experience
The strongest photography trips do not exist only for photographs.
They combine photography with actually experiencing the destination.
You might photograph marine life and then spend time snorkeling.
Photograph a dance class and then join it.
Photograph a cenote and then swim in it.
Photograph local food and then put the camera down before everyone else finishes eating.
That balance prevents photography from becoming a barrier between you and the place you traveled so far to experience.
Photography Travel With MExplor
For travelers interested in Mexico, MExplor’s Photography Camp is designed around learning photography while exploring the Mexican Caribbean.
The current camp program combines guided photography, fundamentals and composition workshops with experiences including cenotes, snorkeling, Caribbean landscapes, and time to explore the region.
Travelers who want a more personalized itinerary can also build photography into a Campamentos Personalizados, combining it with diving, freediving, snorkeling, wildlife, cultural experiences, dance, or other activities.
That makes photography part of a broader adventure rather than forcing every traveler into exactly the same schedule.
Frequently Asked Questions About Photography Travel
What is the best camera for travel photography?
There is no single best camera. The ideal choice depends on what you photograph, how much equipment you want to carry, and your budget. A lightweight camera you enjoy using is often more valuable than a technically superior camera you hate carrying.
What lens is best for travel photography?
A versatile standard zoom is useful for many travelers because it covers landscapes, streets, people, and everyday situations. Wildlife and specialized photography may require additional lenses.
Can I do travel photography with a phone?
Yes. Phones are excellent for many forms of travel photography, especially street scenes, food, architecture, landscapes, video, and spontaneous moments.
How much photography equipment should I bring?
Bring equipment that directly supports the subjects you plan to photograph. Avoid packing equipment simply because you own it.
What is the best time of day for travel photography?
Early morning and late afternoon often provide attractive light, but good photographs can be made throughout the day. The best time depends on the subject, direction of light, weather, and environment.
How do I plan a photography trip?
Start by deciding what you want to photograph, then research season, weather, light, locations, access, transportation, and how much time each area deserves. MExplor also has a separate guide specifically focused on planning a photography trip, which explores this process in greater detail.
Should I hire a local photography guide?
A guide can be extremely valuable when local knowledge affects access, wildlife encounters, light, safety, or timing. It can also help travelers use limited time more effectively.
Is Mexico good for travel photography?
Yes. Mexico offers a wide range of landscapes, culture, wildlife, architecture, underwater environments, food, and adventure experiences. The Mexican Caribbean and Yucatán Peninsula are particularly useful for photographers who want several different subjects within one trip.
Can beginners join a photography trip or Photography Camp?
Yes. MExplor’s Photography Camp is designed to accommodate different experience levels and includes photography fundamentals, composition, guided experiences, and practical shooting opportunities.
Final Thoughts: The Best Photography Travel Guide Is Curiosity
Equipment helps.
Research helps.
Good light definitely helps.
But travel photography ultimately depends on curiosity.
Walk farther.
Stay longer.
Ask questions.
Look behind you.
Wake up early occasionally.
Pay attention to details.
Talk to people.
Learn how the environment changes throughout the day.
And when something unexpected happens, resist the urge to become annoyed because it was not part of the plan.
The unexpected part might become the photograph you remember most.
A good photography travel guide should help you prepare.
A great photography trip still leaves enough room to be surprised.
Build Your Next Photography Adventure With MExplor
If you want more than a standard sightseeing itinerary, MExplor’s Photography Camp combines photography learning with real experiences in the Mexican Caribbean, including nature, cenotes, snorkeling, and opportunities to practice photography in the places you are actually exploring.
For travelers with specific creative goals, a Campamentos Personalizados can build an itinerary around the subjects you want to photograph, from underwater environments and wildlife to landscapes, culture, adventure, and dance.
Contact MExplor to start creating a Photography Camp or Custom Camp built around the places, subjects, and experiences you actually want to capture.
